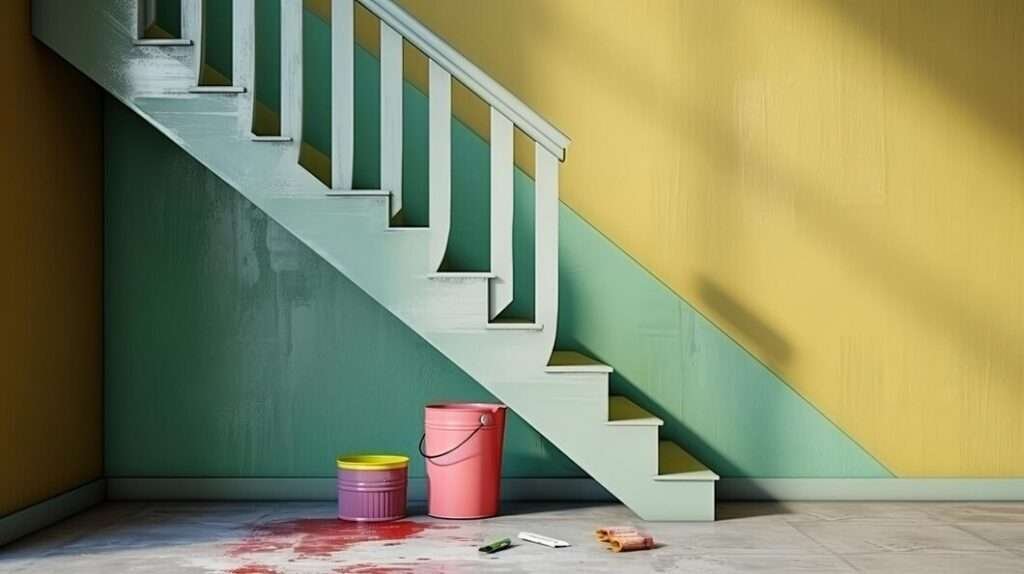
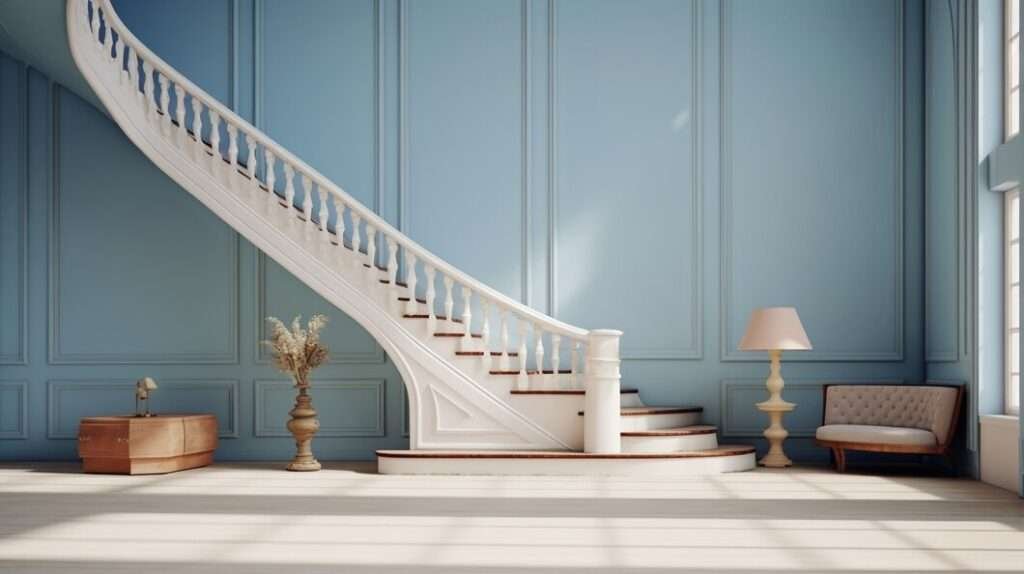
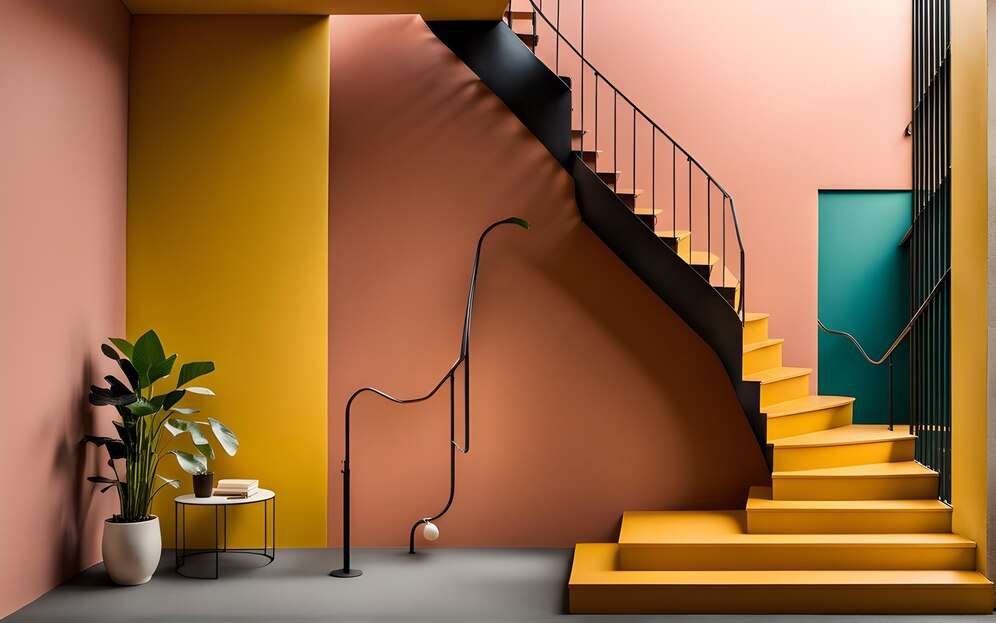
In the world of home decor, stairs are often an overlooked element. However, lately, painted stairs ideas have surged in popularity, turning these functional structures into artistic statement pieces.
This trend is not just about adding a splash of color; it’s about expressing creativity and transforming a mundane part of your home into a visual delight. Whether you’re a DIY enthusiast, a home decorator, or simply someone seeking creative projects, painting your stairs can significantly enhance your home’s aesthetic appeal.
The Practical Guide: Step-by-Step Instructions on How to Paint Stairs

Preparation
- Clear the Area: Remove any rugs, carpets, or items from the stairs. Ensure the area is well-ventilated.
- Clean the Stairs: Wipe down the stairs with a damp cloth to remove dust and debris. Use a mild detergent if necessary.
- Sand the Surface: Sand the stairs to create a smooth surface for the paint to adhere to. Use medium-grit sandpaper for best results.
- Repair Any Damages: Fill in any cracks or holes with wood filler and sand them smooth once dry.
- Tape Off Areas: Use painter’s tape to protect areas you don’t want to paint, such as walls, railings, and stair treads if you’re only painting the risers.
Choosing the Right Paint
- Primer: Apply a primer suitable for your stair material (wood, concrete, etc.) to ensure the paint adheres properly.
- Paint Type: Use durable, high-quality paint designed for floors or high-traffic areas. Semi-gloss or gloss finishes are recommended for their durability and ease of cleaning.
- Color Selection: Choose colors that either complement your existing decor or add a striking contrast.
Painting Techniques
- Apply Primer: Start with a coat of primer and let it dry completely.
- First Coat: Apply the first coat of paint using a brush for edges and a roller for larger areas. Allow it to dry thoroughly.
- Second Coat: Apply a second coat for a richer color and more durable finish. Let it dry completely.
- Finishing Touches: Remove the painter’s tape carefully and touch up any areas as needed.
Inspiration Gallery: Painted Stairs Ideas

Geometric Patterns
- Chevron Patterns: Create a modern and dynamic look with chevron stripes in contrasting colors.
- Checkerboard: A classic black-and-white checkerboard pattern adds a timeless and chic vibe.
- Abstract Shapes: Use tape to create abstract shapes and fill them with different colors for an artistic touch.
Nature-Inspired Themes
- Floral Motifs: Paint delicate flowers or leaves for a serene and nature-inspired staircase.
- Ombre Effect: Gradually blend colors from dark to light to mimic the natural gradient of the sky or ocean.
- Woodland Creatures: Add whimsical elements like birds, butterflies, or trees to bring a bit of the outdoors inside.
Bold Color Contrasts
- Monochromatic Scheme: Use varying shades of a single color to create depth and interest without overwhelming the space.
- Bright Accents: Choose a neutral base color and add bold, bright accents on every third or fourth step.
- Rainbow Stairs: Paint each step a different vibrant color for a playful and eye-catching feature.
DIY vs. Professional: Pros and Cons

DIY
Pros:
- Cost-effective
- Creative freedom
- Personal satisfaction
Cons:
- Time-consuming
- Requires skill and patience
- Potential for mistakes
Professional
Pros:
- High-quality finish
- Saves time and effort
- Expert advice and techniques
Cons:
- Higher cost
- Less personal involvement
- Limited creative control
Safety and Maintenance Tips

Safety
- Non-Slip Finish: Use non-slip additives in your paint or apply a non-slip finish to prevent accidents.
- Avoid Clutter: Keep stair paths clear to avoid tripping hazards.
Maintenance
- Regular Cleaning: Wipe down the stairs regularly to keep them clean and vibrant.
- Touch-Ups: Keep some leftover paint for touch-ups to address any chips or wear marks.
- Protective Coating: Consider applying a clear protective coating to extend the life of your painted stairs.
Conclusion: Get Creative with Your Staircase
Painting your stairs is an exciting project that can dramatically change the look of your home. It’s an opportunity to showcase your creativity and make a bold statement. Whether you choose to DIY or hire a professional, the results are sure to impress. We encourage you to take on this fun and rewarding project and share your own painted stairs with us in the comments!
Ready to start your modern painted stairs project? Gather your supplies and let your imagination lead the way to a stunning transformation!
FAQ
1. Can I paint my stairs if they are carpeted?
Yes, you can paint over carpeted stairs, but be sure to thoroughly clean and sand them first for the best results.
2. Do I have to use a primer before painting my stairs?
Using a primer is highly recommended as it helps the paint adhere better and provides a smoother finish.
3. How long will painted stairs last?
With proper maintenance and care, painted stairs can last for several years without needing touch-ups or repainting. However, high-traffic areas may require more frequent touch-ups.
4. What type of paint should I use on outdoor stairs?
For outdoor stairs, be sure to use a durable exterior-grade paint designed for high-traffic areas. It’s also recommended to apply a non-slip finish for safety. Consult with a professional if you’re unsure about the best paint options for your specific outdoor stairs.
5. Can I use stencils to create patterns on my stairs?
Yes, stencils can be a fun and easy way to add patterns or designs to your painted stairs. Just be sure to properly secure them in place and carefully remove them after painting. Experiment with different sizes and shapes for unique variations.


